

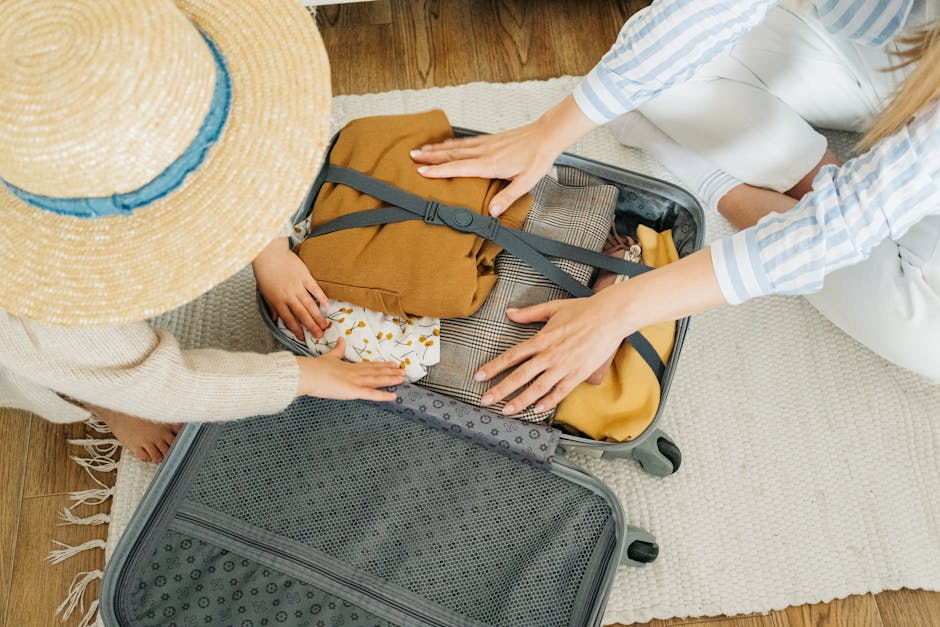
After years of hauling too much, forgetting essentials, and battling flimsy equipment with my own family, I’ve learned a thing or two about what camping gear for families actually makes a difference. My biggest takeaway? Invest in the right foundational pieces. Skimping upfront means headaches later. I’m not talking about buying the most expensive gear for every single item, but rather knowing where to spend your money to ensure comfort, safety, and a generally less stressful trip. Here’s what I’ve figured out works.
The single most important recommendation I can give you is this: prioritize sleep and shelter. If your family isn’t sleeping well, no amount of s’mores will save the trip. Get the tent and sleeping systems right, and the rest becomes so much easier.
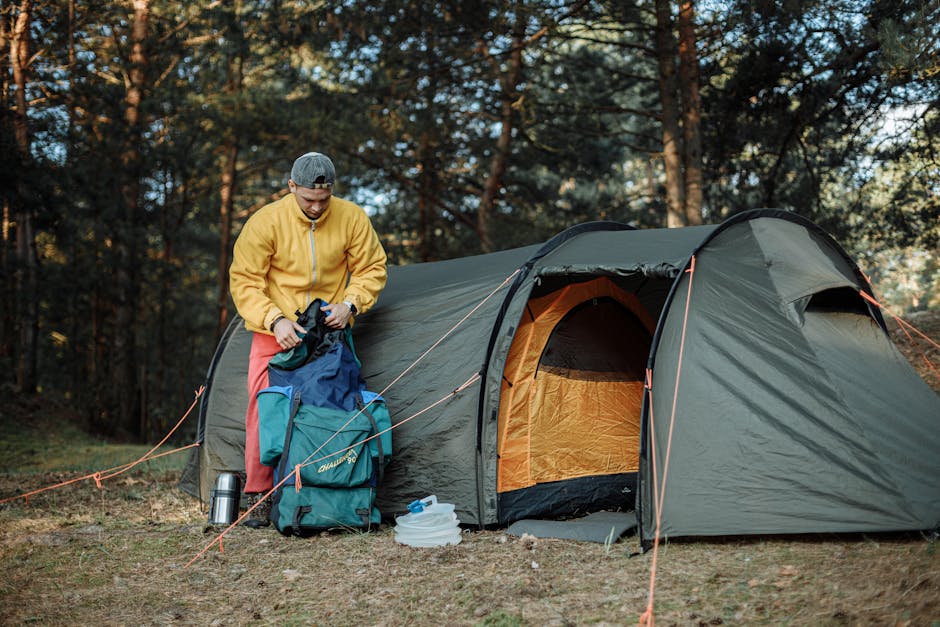
The Tent You Need (Not Just Want): Size, Season, and Setup Speed
My first bold opinion: buy a tent that’s bigger than you think you need. Seriously. If it says “6-person tent,” it means six people sleeping shoulder-to-shoulder with zero gear. For a family of four with any semblance of comfort, a “6-person” tent is bare minimum; an 8-person is often ideal. You need room for sleeping bags, backpacks, a change of clothes, and maybe a small table for card games if the weather turns. This isn’t just about sleeping; it’s your primary shelter, your changing room, your play area during rain. Don’t compromise here.
Minimum Space Requirements for Comfort
Think about square footage. A comfortable minimum for a family of four (two adults, two kids) is around 100-120 square feet of floor space. This often translates to an 8-person tent. For example, the Coleman Instant Cabin 8-Person Tent typically offers 130 sq ft and runs about $250-$350. The REI Co-op Base Camp 6, while a 6-person, is incredibly spacious for its rating at 87.5 sq ft plus a generous vestibule, but it will cost you closer to $500. Measure your family, their gear, and then add a buffer. You’ll thank me when you’re not tripping over backpacks in the middle of the night.
Why I Swear by Instant Setup Tents
When you arrive at a campsite with tired kids, the last thing you want is an hour-long tent assembly project. I used to be a traditional pole-tent guy. Never again. Instant setup tents, like those from Coleman or Core Equipment, have pre-attached poles that simply extend and lock into place. What used to take 30-40 minutes of frustration now takes 5-10 minutes. This difference is a for family camping sanity. They might be slightly heavier or bulkier when packed, but that trade-off is absolutely worth it for me. We picked up a Core 9 Person Instant Cabin tent for about $300 a few years back, and it’s been rock-solid.
3-Season vs. 4-Season: A Clear Choice for Families
Unless you’re planning winter expeditions in heavy snow, a good 3-season tent is all you need. They are lighter, have better ventilation for warmer nights, and are generally more affordable. A 4-season tent is overkill for most family campers, designed to withstand extreme wind and snow loads, often at the expense of ventilation and weight. Stick with a robust 3-season model that has a good rainfly and strong zippers. The REI Co-op Base Camp tents are excellent examples of durable 3-season shelters that handle a wide range of conditions well.
Sleep Systems That Actually Work: Pads, Bags, and Pillows

I cannot stress this enough: your family’s comfort at night dictates the entire mood of the trip. Cold, hard ground leads to grumpy mornings. Investing in a proper sleep system—meaning a good sleeping pad, a suitable sleeping bag, and a comfortable pillow—is where your budget should absolutely stretch. This isn’t just about luxury; it’s about warmth, insulation, and genuine rest. Kids especially need to be warm; they lose body heat faster than adults.
The Sleeping Pad Revelation: R-Value Matters
Forget those cheap foam pads from the department store. They do little for insulation or comfort. You need an insulated sleeping pad with a decent R-value. The R-value measures a pad’s resistance to heat flow; higher R-values mean more insulation. For comfortable 3-season camping, I aim for an R-value of at least 3.0. For colder shoulder seasons, 4.0 or higher is better. My kids use Therm-a-Rest NeoAir Topo Luxe pads (R-value 3.7, around $170 each), which are pricey but they’ve never complained about being cold from the ground. For myself, I use a Nemo Tensor Insulated (R-value 4.2, around $200). These inflatable pads are lightweight, pack small, and make a huge difference in warmth and cushioning. Don’t buy an uninsulated air mattress; it will suck the warmth right out of you.
Sleeping Bag Ratings for Real-World Temperatures
Sleeping bag ratings are often a bit optimistic. A 20°F bag might keep you alive at 20°F, but it won’t keep you *warm and comfortable* at that temperature. For family camping in typical summer/early fall conditions, I usually recommend a bag rated for 20°F to 30°F for adults, even if it’s going to be 40°F-50°F at night. This gives you a buffer. For kids, I often go even warmer, or just buy them a rectangular bag that zips open fully and they can use a fleece liner if needed. We’ve had great luck with the Kelty Cosmic 20-degree bag ($150-$200) for adults and kids. For younger children, a simple mummy bag from REI Co-op like the Kindercamp 30 (around $80) works well, combined with good base layers.
Camp Pillows: Don’t Underestimate Them
You might think a rolled-up sweatshirt works, but a proper camp pillow is a small luxury that pays huge dividends in sleep quality. Inflatable pillows are great because they pack down tiny. My personal favorite is the Sea to Summit Aeros Premium Pillow ($45). My kids just use small, compressible foam pillows from Nemo ($35). They’re not as tiny, but they’re plush and easy for kids to manage. A good pillow means less neck stiffness and a better night’s rest for everyone.
Camp Kitchen Essentials: My Hard-Earned Lessons
The camp kitchen can quickly become a chaotic mess or a smooth operation. I’ve been on both sides. My biggest lesson? Keep it simple, prep what you can at home, and invest in a few multi-purpose items. You don’t need a gourmet setup to eat well outdoors.
- The Stove: Two Burners are a Must. I’ve tried single-burner backpacking stoves, and they’re fine for solo trips, but with a family, you need two burners. This lets you boil water for coffee and cook eggs simultaneously. The Coleman Triton Series 2-Burner Stove (around $100-$130) is a classic for a reason: reliable, powerful, and easy to clean. Don’t overthink it.
- Cooler Strategy: Two is One, One is None. If you’re camping for more than a night or two, consider two coolers. One for drinks that gets opened constantly, and one for food that stays sealed tight. This drastically extends the life of your ice and keeps your food safer. A Yeti Tundra 45 (around $325) or an RTIC 45 QT (around $250) are excellent for food due to their ice retention. For drinks, a cheaper Igloo or Coleman cooler is perfectly fine.
- Water Storage and Purification: Non-Negotiables. Always bring more water than you think you need. A 5-gallon water jug with a spigot is invaluable for handwashing and dishes. For drinking, I bring bottled water, but also a good filter system like the Katadyn BeFree ($45) for backup or if we run low. Don’t mess around with unsafe water.
- Cooking Utensils: Minimalist Approach. One good chef’s knife, a cutting board, a spatula, and a spoon. That’s usually enough. A cast-iron skillet (10-inch, around $30) is incredibly versatile for everything from eggs to stir-fries.
- Dishwashing: The Three-Bucket Method. This is a . One bucket for hot, soapy water, one for hot rinse water, and one for sanitizing with a tiny bit of bleach. Biodegradable soap is a must.
Generic Tip: Pre-cook and Portion at Home. Chop veggies, marinate meats, even cook entire meals like chili or pasta sauce and freeze them. They double as ice packs on the way and just need reheating at the campsite. This saves immense time and mess.
Lighting Up the Night: Headlamps vs. Lanterns
Lighting is crucial for safety and ambiance. You need both personal lighting (headlamps) and area lighting (lanterns). Don’t just rely on your phone’s flashlight; it’s not bright enough, and you’ll drain your battery fast. My philosophy is one headlamp per person and at least two good lanterns for the campsite.
| Feature | Headlamps | Lanterns |
|---|---|---|
| Primary Use | Personal mobility, tasks (cooking, reading) | Area illumination, tent lighting |
| Key Benefit | Hands-free, directional light | Broad, ambient light |
| Recommended Lumens | 150-300 lumens | 300-500 lumens |
| Battery Type | AAA/AA or rechargeable | D-cell, USB rechargeable, or propane |
| Typical Cost | $25 – $70 | $30 – $100+ |
My Top Picks for Each Use
For headlamps, I’m a fan of Black Diamond Spot 400-R (around $55). It’s rechargeable, bright enough, and durable. For kids, simpler models like the Black Diamond Wiz (around $25) are perfect, with kid-friendly features. For lanterns, I prefer rechargeable LED models. The Goal Zero Lighthouse 600 (around $70) is fantastic; it’s bright, has a hand crank backup, and can charge your phone. If you prefer propane, the old Coleman Dual-Fuel Lanterns are workhorses, but they are loud and require fuel.
Battery Life and Rechargeability
Always bring spare batteries or a power bank. For rechargeable devices, ensure you fully charge them before you leave. I also carry a portable power station, like a Jackery 300 (around $300), which can recharge all our USB devices multiple times and power the lanterns for days. This removes any battery anxiety and lets us stay off-grid longer.
The Overlooked Gear: First Aid and Repair Kits
This is a short one because it’s simple: you absolutely need these. Accidents happen, and gear breaks. A well-stocked first aid kit can turn a minor scrape into a quick fix instead of a trip-ending crisis. Likewise, a small repair kit with duct tape, zip ties, and a multi-tool has saved countless tents, chairs, and sanity levels. Do not leave home without them.
Kids’ Specific Gear: Making Camping Fun (and Easier)
Camping with kids isn’t just about bringing them along; it’s about equipping them to enjoy it. When kids are comfortable and entertained, parents are too. Don’t just give them hand-me-down adult gear; think about their scale and interests. This isn’t about buying new products; it’s about thoughtful preparation.
Keeping Them Entertained: Simple Toys and Games
Forget electronics. Bring things that encourage outdoor play and interaction. A frisbee, a football, a deck of cards, a bug-catching kit, a nature scavenger hunt list, or a few coloring books are perfect. I always pack a small magnifying glass and a field guide to local plants or birds. These spark curiosity and keep them engaged with their surroundings, not just passively consuming entertainment. A good old-fashioned stick can be the best toy in the woods, but having a few structured options helps during downtime or unexpected rain.
Dress for Success: Layering for Kids
Kids are constantly moving, getting hot, then sitting still and getting cold. Layering is non-negotiable. Start with a moisture-wicking base layer (not cotton!), add a fleece or wool mid-layer, and finish with a waterproof/windproof outer shell. Bring extra socks—many, many extra socks. I always pack one more complete outfit than I think they’ll need. For cool nights, fleece pajamas are far better than cotton. They stay warm even if slightly damp, and they dry faster. Check the forecast, but always pack for colder and wetter conditions than predicted, especially for children.
Backpacks for Little Explorers
Even young children can carry a small backpack with their own water bottle, a snack, and a favorite toy. It gives them a sense of responsibility and independence. Look for a kids’ specific daypack that fits their torso length, has adjustable straps, and a chest buckle. Brands like Osprey or Deuter make excellent quality kid-sized packs that are durable and comfortable. They might not carry much, but it lightens your load a tiny bit and empowers them in a big way. Plus, it teaches them to value their own gear.
Essential Extras: My Hard-Won Packing Philosophy
After decades of camping, I’ve refined my packing strategy down to one core idea: multi-purpose items rule. Every item in my bag needs to earn its spot. This is especially true when you’re packing for an entire family. Don’t bring five single-use gadgets when one item can do three jobs. Think about what truly enhances the experience without adding unnecessary bulk or weight.
How do I avoid overpacking?
Make a detailed list and stick to it. For every item, ask yourself: “Do I absolutely NEED this, or is it a ‘nice to have’?” For clothes, plan outfits, then subtract one. You can re-wear things. For kitchen gear, think about meals you’ll actually cook, not aspirational ones. My family found that having a dedicated camping bin that stays packed with non-perishables (stove, pots, utensils, first aid, lanterns) means less frantic packing before each trip. We just add food, clothes, and water.
What’s one item I can’t live without?
If I had to pick just one, it would be a comfortable camp chair. After a long day of hiking or playing, having a comfortable spot to sit and relax, read a book, or just watch the campfire is pure bliss. We use the Helinox Chair One (around $120) for adults; they’re incredibly light and compact. For kids, simpler folding chairs from Coleman (around $20) work perfectly. Don’t underestimate the power of a good sit.


