You land in Auckland, jet-lagged, and grab a rental car from Jucy at the airport. The agent hands you the keys to a compact hatchback. You don’t check the spare tire. Three days later, on a gravel road near the Catlins, you hit a sharp rock. No spare. No cell service. That’s mistake number one.
New Zealand is stunning, but it punishes the unprepared. I spent a month solo touring both islands and made nearly every mistake on this list. Here’s what to avoid — and exactly how to stay safe.
1. Underestimating Driving Conditions
New Zealand roads are narrow, winding, and often one-lane bridges. Tourists crash at a rate 3x higher than locals, according to the NZ Transport Agency. The biggest mistake? Driving too fast on unfamiliar gravel roads.
Check your rental car’s spare tire before leaving the lot
Jucy and Britz rentals often have compact spares that are useless for punctures on rough terrain. Ask for a full-sized spare or carry a puncture repair kit ($25 at Repco). Also confirm your rental includes roadside assistance — Jucy’s basic plan charges $150 for callouts.
Download offline maps before you go
Cell coverage vanishes in Fiordland, the West Coast, and most of the South Island. Google Maps offline downloads work, but I prefer Maps.me (free, detailed walking trails). Save the entire South Island before you leave Christchurch.
Verdict: Rent from companies that offer full-sized spares (like Apex or Omega). Spend 10 minutes inspecting the car before driving off. It saves days of frustration.
2. Booking Accommodation Too Rigidly
Solo travelers often book every night in advance. Then weather hits, a trail closes, or you meet people you want to travel with. You’re stuck paying for hostels you don’t use.
Instead, book your first two nights and the last two nights. Leave the middle open. Use Booking.com (free cancellation) or DOC campsites ($8–$15 per night) for flexibility. The DOC website shows real-time availability for all huts and campsites.
One exception: Popular tramping huts on the Milford Track and Routeburn Track book out months ahead. Reserve those early. For everything else, stay loose.
3. Hiking Alone Without Telling Anyone
This is the most dangerous solo mistake in New Zealand. The Mountain Safety Council reports that 80% of tramping fatalities involved people hiking alone. You don’t need a partner, but you do need a plan.
Use the Outdoor Intentions system
Before any hike over 2 hours, fill out a free Outdoor Intentions form online (outdoorintentions.org.nz). It sends your route, start time, and expected return to an emergency contact. If you don’t check in, they alert search and rescue.
Also carry a personal locator beacon (PLB). You can rent one from DOC offices for $10–$15 per day. The ResQLink+ model ($350 to buy) works anywhere in NZ and lasts 5 years on battery. Don’t rely on your phone — it dies in the cold.
Verdict: Rent a PLB for any hike longer than 3 hours. Fill out an Outdoor Intentions form. Text your hostel or a friend your exact route. This takes 5 minutes and could save your life.
4. Packing for Summer Only

New Zealand has four seasons in one day. I hiked the Tongariro Alpine Crossing in January (summer) and got snow, rain, and 30°C sun all in 8 hours. People wearing only shorts and a t-shirt had to turn back hypothermic.
Pack these layers:
- Base layer: merino wool (Icebreaker or Mons Royale) — wicks sweat, doesn’t stink after days of wear
- Mid layer: fleece or synthetic puffy (Macpac Nitro or The North Face Thermoball)
- Outer shell: waterproof and windproof (Kathmandu Torrent or Patagonia Torrentshell)
- Always carry a hat and gloves, even in summer
I use a 35L pack (Osprey Talon 36) for week-long trips. It fits all layers plus food and water. Anything bigger encourages overpacking.
5. Ignoring Sandfly Protection
Sandflies are tiny biting insects found near water throughout New Zealand, especially on the West Coast and around Milford Sound. They leave itchy welts that last days. Locals call them the real national pest.
DEET-based repellents work (30% DEET or higher). I use Bushman’s Plus ($12 at supermarkets) — it’s the strongest available and lasts 6 hours. Also wear long pants and socks when hiking near rivers or lakes. The welts from sandflies can get infected if scratched, so carry antiseptic cream (Savlon or Bepanthen).
Verdict: Buy Bushman’s Plus at the first supermarket you see. Apply before sunset near water. Treat bites immediately with antiseptic.
| Mistake | Cost of Fixing It | Prevention Cost |
|---|---|---|
| No spare tire | $150–$300 tow + tire replacement | Free inspection + $25 repair kit |
| Rigid bookings | $50–$100 in cancellation fees | Free cancellation booking |
| No PLB on hike | $3000+ search and rescue fine | $10–$15/day rental |
| Wrong clothes | $50–$100 for emergency gear | Free layer planning |
| No sandfly protection | $10 for antihistamines | $12 repellent |
6. Overestimating Your Fitness for Multi-Day Hikes
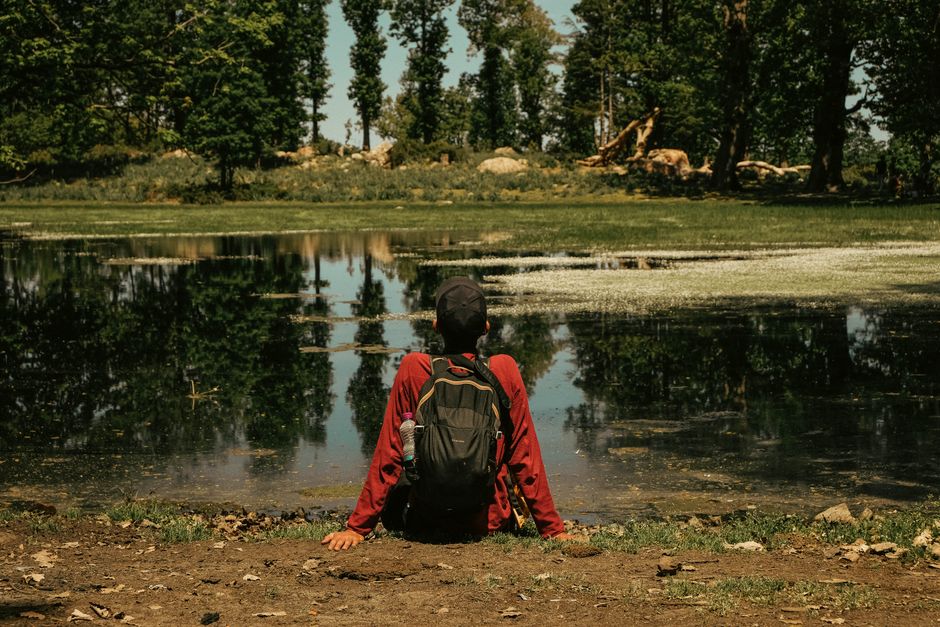
The Great Walks (Milford, Routeburn, Kepler) are marketed as “moderate” but involve 6–8 hours of steep climbing with a 15kg pack. I saw four people quit the first day on the Kepler Track because they’d never carried a full pack uphill.
Train before you go: hike with a loaded pack (12–15kg) on stairs or hills for at least 2 hours, 3 times a week, for a month. If you can’t train, start with day hikes (Tongariro Crossing, Abel Tasman Coastal Track) before attempting multi-day treks.
Also know your exit points. Every Great Walk has emergency huts and helicopter evacuation points marked on the DOC map. Study those before you start.
7. Not Planning for Cash-Only Situations
Many small towns, DOC huts, and campsites accept only cash. The ATM in Te Anau ran out of money during my visit. I had to drive 45 minutes to the next town for cash.
Withdraw NZD $200–$300 cash at the airport or any major town. Keep it in a waterproof pouch (Sea to Summit dry bag, $12). Use card everywhere else — most hostels, cafes, and gas stations accept Visa/Mastercard. But always have backup cash for remote areas.
8. Trusting Google Maps for Walking Times
Google Maps says the Tongariro Alpine Crossing takes 5 hours. Realistically, with photo stops, breaks, and weather, it takes 7–9 hours. I started at 9am based on Google’s estimate and finished in the dark. Not smart.
Use DOC’s official walking times (posted at trailheads and on their website). Add 30% to those times for photo stops and breaks. Always start hiking before 8am for any trail over 4 hours. Carry a headlamp (Black Diamond Spot 400, $45) even on day hikes — you never know when a wrong turn adds 2 hours.
Final Comparison: Solo Travel Safety Gear
- PLB rental: $10–$15/day from DOC — essential for any hike over 3 hours
- Offline maps: Maps.me (free) — download entire regions before departure
- Repellent: Bushman’s Plus ($12) — strongest DEET available in NZ supermarkets
- Headlamp: Black Diamond Spot 400 ($45) — 400 lumens, waterproof, 200-hour battery
- Cash reserve: NZD $200–$300 — keeps you out of trouble in remote towns
New Zealand rewards preparation. Skip the rigid plans, pack for weather, and always tell someone where you’re going. The country’s beauty is worth the effort — just don’t let the sandflies or a flat tire ruin it.