You bought a nice camera. You got a seat in the third row. The curtain rises, the lead singer hits a high note, and you fire off a shot. Later, you pull it up on your laptop and see a soft, grainy mess. The face is blurry. The stage lights turned the singer’s skin into a waxy, overexposed blob. You check your settings: ISO 6400, shutter speed 1/60th, f/5.6. That’s the problem.
Stage lighting is the hardest lighting condition most photographers will ever face. It’s dim, it’s contrasty, and it changes every three seconds. The standard advice — “use a fast lens” or “bump up your ISO” — only gets you partway there. This article walks you through the three specific things you need to fix: shutter speed, aperture, and noise management. No fluff. Just the numbers and gear that work.
Why Your Theatre Photos Look Like Garbage (And It’s Not Your Camera)
The biggest mistake new stage photographers make is thinking they need a better camera body. They don’t. The Sony A7 III ($1,800) from 2018 still shoots perfectly usable images in a dark theatre. The problem is almost always shutter speed.
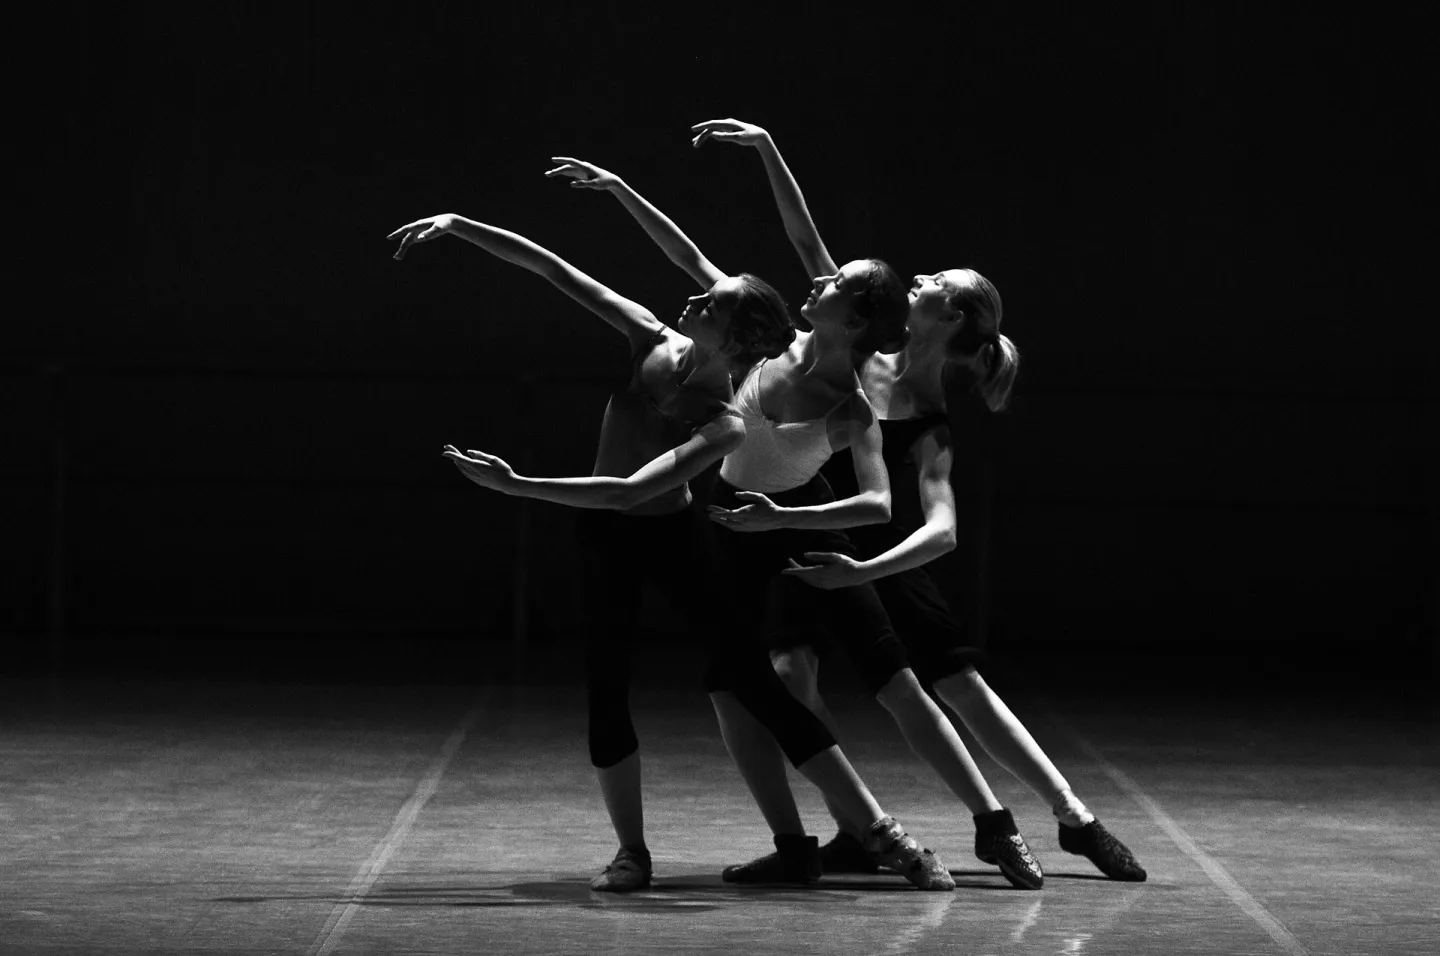
Stage performers move. A lot. A singer sways. A dancer jumps. An actor turns their head. At 1/60th of a second, all of that motion registers as blur. You need at least 1/250th to freeze most stage movement. For dancers or fast choreography, push to 1/500th.
But here’s the trade-off: raising shutter speed cuts the light hitting your sensor by half or more. At 1/250th, you’re letting in two stops less light than at 1/60th. To compensate, you have to open your aperture or raise your ISO. Most kit zoom lenses — the 18-55mm f/3.5-5.6 that comes with entry-level DSLRs — max out at f/5.6 at the telephoto end. That’s not enough light. You end up at ISO 6400 or higher, and the image falls apart.
The fix isn’t a new camera. It’s a faster lens. A lens with a maximum aperture of f/2.8 or wider lets in four to eight times more light than an f/5.6 lens. That’s the difference between shooting at ISO 3200 versus ISO 800. And that difference is huge for image quality.
The Only Three Camera Settings That Matter for Stage Photos
Ignore everything else for now. White balance, picture profiles, and drive mode can wait. If you get these three settings right, 90% of your shots will be sharp and properly exposed.
Shutter Speed: 1/250th Minimum, 1/500th for Action
Set your camera to Shutter Priority (S or Tv mode) or Manual mode. Dial in 1/250th as your floor. If the performer is standing still and delivering a monologue, you can drop to 1/125th. But for anything with motion — singing, dancing, walking across the stage — stay at 1/250th or faster. 1/500th is the sweet spot for dance or fight scenes. The cost is one stop of light, but the sharpness gain is worth it.
Aperture: Shoot Wide Open, But Know the Limits
Set your aperture to the widest setting your lens allows. For a 70-200mm f/2.8, that’s f/2.8. For a 50mm f/1.8, that’s f/1.8. Shooting wide open lets in the maximum light, but it also gives you a very shallow depth of field. At f/1.4, the in-focus zone might be only a few inches. If the actor’s eyes are sharp but the tip of their nose is soft, that’s normal. Focus on the nearest eye and recompose.
The trade-off: lenses are sharpest one to two stops down from their maximum aperture. A 50mm f/1.8 is sharper at f/2.8 than at f/1.8. But in a dark theatre, you can’t afford to stop down. Accept the slight softness at the edges. The center sharpness is still good. Shooting at f/1.8 with a slightly softer image is infinitely better than shooting at f/4 with a blurry subject because your shutter speed dropped to 1/30th.
ISO: Auto ISO With a Ceiling
Set your ISO to Auto, but cap the maximum. For most modern cameras (Sony A7 III, Canon EOS R6, Nikon Z6 II), ISO 6400 is the usable limit. Beyond that, noise becomes intrusive. For older cameras or crop-sensor bodies, cap at ISO 3200. The camera will then adjust ISO automatically to maintain proper exposure at your chosen shutter speed and aperture. If it hits the ceiling and the image is still underexposed, you need to either open the aperture (if possible) or accept a slower shutter speed.
| Setting | Recommended Value | When to Adjust |
|---|---|---|
| Shutter Speed | 1/250th | Drop to 1/125th for static scenes; raise to 1/500th for dance |
| Aperture | Wide open (f/1.4–f/2.8) | Only stop down if you have extra light and need more depth of field |
| ISO (Auto, capped) | Max 6400 (full-frame), 3200 (crop) | Lower cap if noise is unacceptable; raise cap if you must get the shot |
Which Lenses Actually Work in a Dark Theatre (Priced and Compared)
You cannot shoot theatre with a kit lens. Full stop. You need a lens with a maximum aperture of f/2.8 or wider. Here are the three best options for different budgets and camera systems.
Budget Pick: Samyang 85mm f/1.4 ($350–$400)
This is the best value lens for stage photography. The f/1.4 aperture lets in a full stop more light than an f/2.0 lens and two stops more than an f/2.8. It’s manual focus only, which sounds scary, but for stage work, autofocus often hunts in low light anyway. Pre-focus on a spot on stage and wait for the actor to step into it. The image quality is excellent for the price — sharp in the center, good contrast. Available in Canon EF, Nikon F, Sony E, and Micro Four Thirds mounts.
Mid-Range Pick: Tamron 70-180mm f/2.8 Di III VXD ($1,200)
For Sony E-mount users, this is the lens to beat. It covers the ideal focal range for medium to large theatres (70mm for full-body shots, 180mm for tight headshots). The f/2.8 aperture is constant throughout the zoom range. Autofocus is fast and silent — critical during quiet scenes. It’s also half the weight of Sony’s 70-200mm f/2.8 GM (810g vs. 1,480g). You’ll appreciate that after holding it for a two-hour show.
Premium Pick: Canon RF 70-200mm f/2.8L IS USM ($2,700)
If you shoot Canon R-series cameras, this is the standard. The image stabilization allows you to handhold at shutter speeds one or two stops slower than usual, which helps in very dark scenes. The autofocus is instantaneous. The image quality is flawless — sharp corner to corner even at f/2.8. The downside is the price. If you can’t justify $2,700, the older EF 70-200mm f/2.8L IS II ($1,600 used) with an adapter works nearly as well.
How to Handle Rapid Lighting Changes Without Missing the Shot
Theatre lighting designers are not thinking about your camera. They’re thinking about mood. A scene might start in deep blue at 1/10th of a second of exposure, then a follow spot hits the actor at full brightness. Your camera’s meter freaks out. You get a frame that’s completely blown out.
The solution is exposure compensation and spot metering. Switch your camera’s metering mode to Spot. Point the active focus point at the actor’s face. The camera will meter only for that small area, ignoring the dark background or bright spot. Set your exposure compensation to -0.7 or -1.0 EV. Stage lights are hot, and faces often clip at the highlights. Underexposing slightly preserves detail in the skin tones, and you can lift the shadows in post-processing.
Another trick: shoot in bursts of three to five frames when the lighting shifts. The first frame might be overexposed, the second perfect, the third underexposed. Pick the best one later. Memory cards are cheap. Missed moments are not.
Three Common Stage Photography Mistakes (And How to Fix Them)
I’ve made all of these. Here’s how to avoid them.
- Mistake: Using auto white balance. Stage lights are rarely daylight-balanced. Tungsten, LED, and moving heads all have different color temperatures. Auto white balance constantly shifts, giving you inconsistent color from frame to frame. Fix: set a custom white balance using a gray card under the stage lights, or shoot in RAW and adjust in post. I set mine to 3200K as a starting point and tweak later in Lightroom.
- Mistake: Shooting in JPEG. JPEG compresses the highlights and shadows, leaving you no room to fix exposure mistakes. Stage lighting has extreme dynamic range. Fix: shoot in RAW. The files are larger, but you can recover blown highlights and lift shadows by two stops without banding. A 64GB SD card holds about 1,500 RAW images from a 24MP camera — enough for several shows.
- Mistake: Using the electronic shutter. Electronic shutters can cause banding under LED and fluorescent stage lights. The lights flicker at a frequency that the rolling shutter captures as horizontal stripes. Fix: use the mechanical shutter. Yes, it’s louder, but the banding is gone. If noise is a concern, use the camera’s silent mode with the mechanical shutter if available (some cameras offer a quiet mechanical mode).
When a Telephoto Zoom Is the Wrong Choice (And What to Use Instead)
Everyone reaches for a 70-200mm for theatre. And for most shows, it’s the right tool. But there are two situations where a wide-angle or prime lens serves you better.
Situation one: you’re shooting from the front row or the pit. At that distance, even 70mm is too tight. You can’t fit the full stage in the frame. Swap to a 24-70mm f/2.8 or a 35mm f/1.4 prime. The Sigma 35mm f/1.4 Art ($900) is a beast in low light and gives you a perspective that captures the full scene — the actor, the set, the lighting design. It’s a different kind of shot, but it tells a better story.
Situation two: the theatre is very small and the stage is shallow. A 200mm lens will only capture a face or a prop. You’ll miss the context. In a black box theatre with the audience three rows back, a 50mm f/1.8 ($125) or 85mm f/1.4 is more useful. You get the actor and enough of the environment to communicate the scene. The shallow depth of field from the wide aperture also isolates the subject from the busy background.
If you can only bring one lens, bring the 70-200mm f/2.8. But if you know the venue is intimate, pack a 35mm or 50mm prime instead. You’ll get better shots.
Post-Processing: How to Fix Noise and Exposure Without Ruining the Image
Even with perfect settings, stage photos often need cleanup. Noise reduction and exposure adjustment are the two main tasks. Do them in the right order, and you’ll keep detail.
First, fix exposure in your RAW editor. Lift the shadows slider by +20 to +40. Pull the highlights down by -30 to -50. Increase contrast by +10 to bring back pop. Do not touch the clarity or texture sliders yet — they amplify noise.
Second, apply noise reduction. I use DxO PhotoLab 7 ($229) for this. Its DeepPRIME XD noise reduction is significantly better than Lightroom’s built-in tool. It recovers detail that looks lost. Select the DeepPRIME XD option, set the lens sharpness to 1.0, and let it process. The result is an image at ISO 6400 that looks like it was shot at ISO 800. If you don’t want to buy DxO, Lightroom’s AI Denoise (available in the latest versions) is a decent free alternative — select the image, click Denoise, and adjust the amount slider to around 50%.
Finally, sharpen selectively. Apply a mask to sharpen only the edges (the actor’s eyes, the costume details) and leave the background soft. In Lightroom, hold the Alt key while dragging the Masking slider to see the sharpening mask. Aim for a value between 40 and 70.
You walk into the theatre, camera in hand, hoping for one great frame. The lights go down. The actor steps into the spotlight. You lift the camera, dial in 1/250th, f/2.8, ISO Auto capped at 6400. You fire three frames. Later, on your laptop, you zoom in. The eyes are sharp. The skin tones are natural. The noise is barely visible. That’s the feeling this whole process is built for. Now you know how to get it.